
I think it’s about time to show you an example of a real case we did using Guided Implants.
The Problem
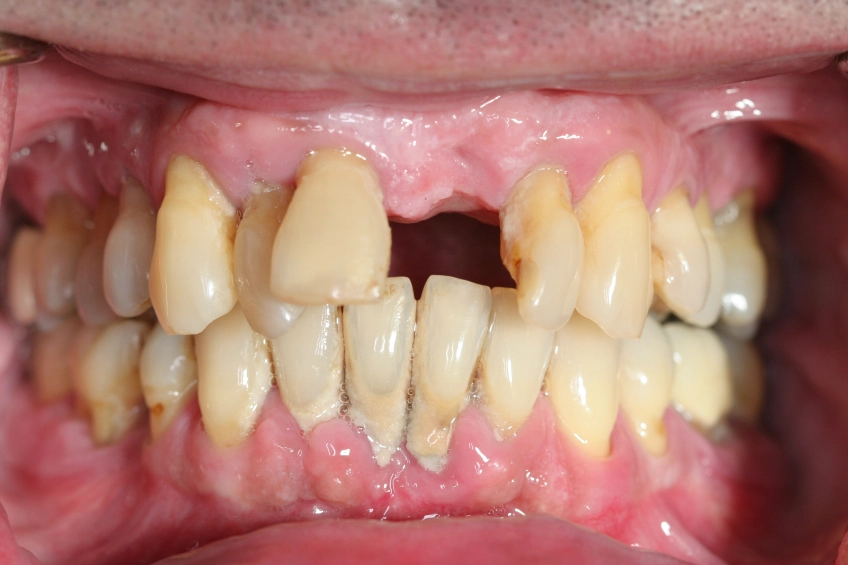
A gentleman came to us looking for help to improve his smile. He had many options for treatment, but the route that best suited him was to remove all of his teeth and place implant-supported dentures. At Arizona Periodontal Group, our main focus is saving teeth. However, there are some cases in which the gum disease has progressed to a point that the patient would actually lose money trying to save his or her teeth with dental procedures.
The Plan
Due to the amount of periodontal disease, or bone loss, our patient needed a little more stability for the prosthesis on the lower arch. We planned to place four implants on the mandible (lower jaw) that would anchor this fixed set of teeth. On the top arch, we would place a standard denture because it offered more stability in his case.
The Procedure
Step One
Step one involved gathering as much information as possible. We took a lot of photographs, models, CT scans (such as the Gallileos), and even picked out a shade for the teeth. All of this information was sent to the lab. We were happy to work with Van Hook Dental Studio on this case.
Step Two
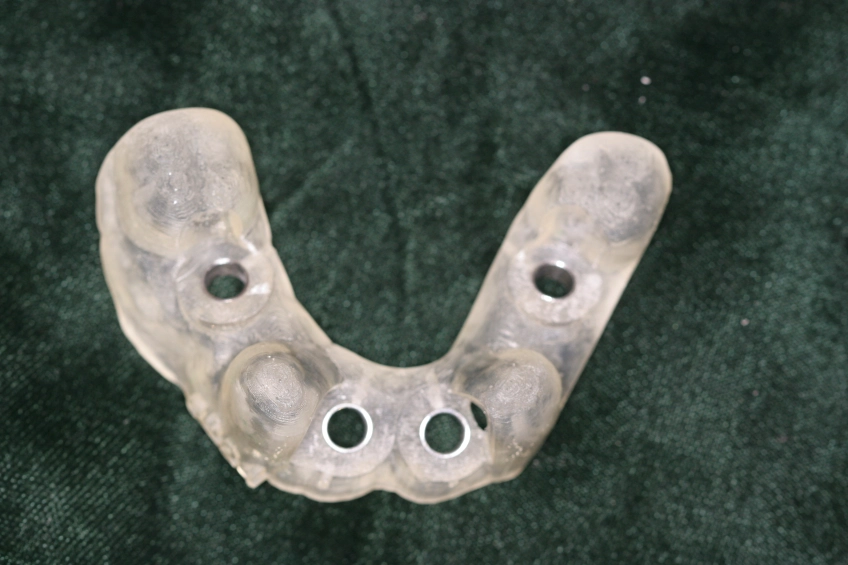
Step two required a lot of lab work. At Van Hook Dental Studio, they spend time studying these models, photos, scans, etc., to plan the accurate placement of the four implants. This was done to make sure the implants provided complete retention for the fixed set of teeth. It was also neccessary to make sure the top denture would fit once it was delivered. In this patient’s case, our main goal was to make sure he left our office that day with a set of teeth. Step two ends with the completion of the surgical guide for placing the implants. As you can tell, it is important to be as meticulous as possible because there is no margin for error when it comes to treating our patients.
Step Three
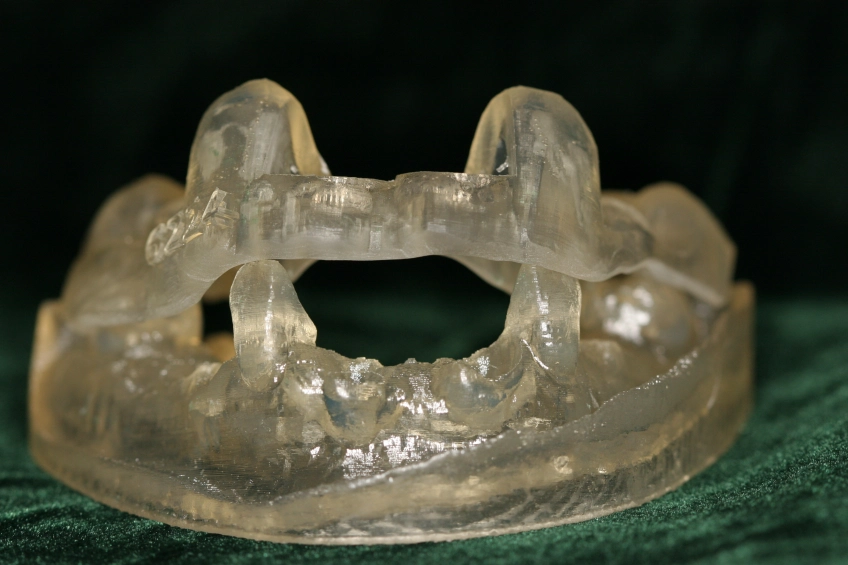
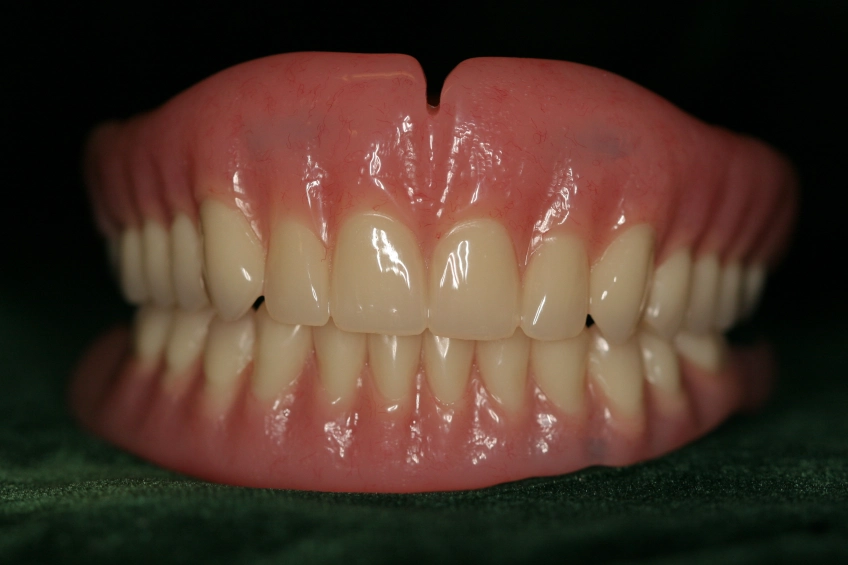
Step three takes us back to our office, but the lab work isn’t over yet. Once the lab sent all of the guides, models, the top denture, the bottom set of teeth, and the prescription for the sizes of implants needed, we scheduled the patient for the procedure. The following pictures show the guide for this patient and a front view displaying how it fits over his teeth. The third picture shows the denture and the fixed prosthesis that was delivered to the patient before he left that day.
Step Four
Step four was showtime! Once our patient was sedated, Dr. Trujillo worked with an oral surgeon to remove the patient’s teeth and prepare the mouth for the implants. The lab was also there for when the denture and fixed prosthesis were ready to be seated in case any specific adjustments were needed.

Not all guided implant cases are like this one. Many of them only involve one or two teeth and don’t need the removal of all teeth. Again, this was the most conservative route for this patient in the long run. The result was so rewarding, and the patient got his teeth just in time for Thanksgiving!
We have a lot of other cases coming up at our periodontal office in Phoenix, Arizona. Stay tuned for more before and after photos!


